Location, Location, Location -or- (Where do …
Location, Location, Location -or- (Where do I mount my encoder?)
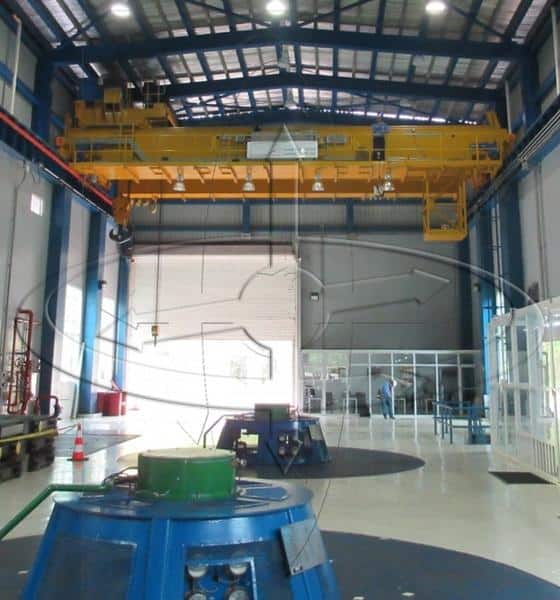
I recently had a conversation with a man who is responsible for many cranes both AC and DC. As a part of one overhead crane modernization, he was moving from a straight DC contactor control to an OmniPulse digital drive control. The issue of how and where to mount the encoder for feedback for the hoist drive came up, and it reminded me to write a technical bulletin.
Now I am sure that some of you saw the topic of this technical bulletin and thought either I’ve lost my mind, or Engineered Lifting Systems has entered into the real estate business. Not so! I am only pointing out the first rule of encoder installation.
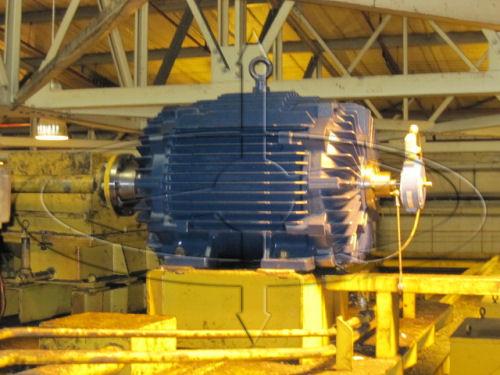
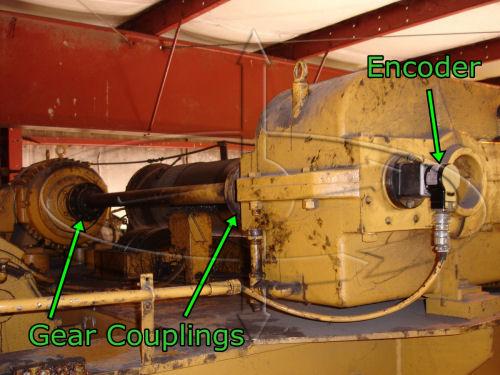
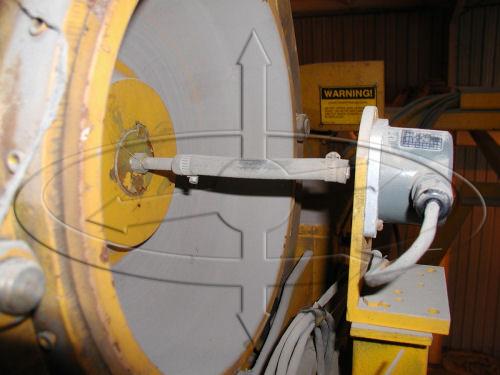
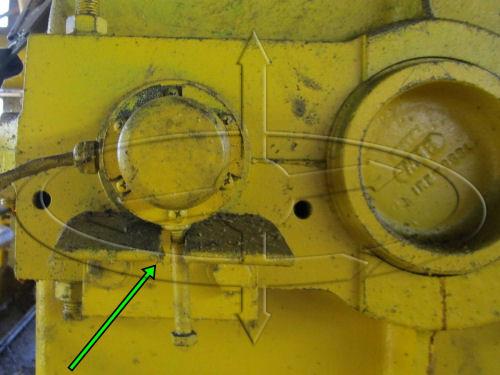
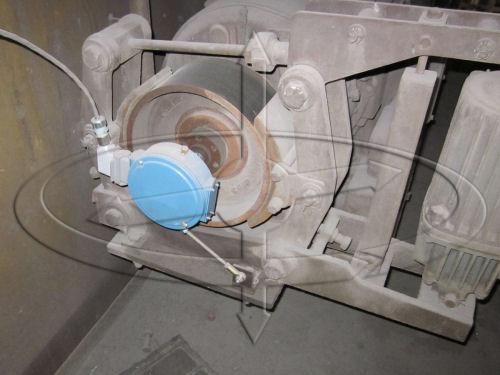
A couple of pictures of poor installations:
There are some guidelines that I prefer to use when providing advice on encoders. These are not in any order, as all of these rules are important.
Use a quality encoder. A Mill Duty encoder will cost anywhere between $1,000.00 and $2,000.00. This will buy you a large diameter cast housing encoder sealed and with a breather.
Try to stay with a magnetic encoder, not glass. The glass typically has a higher resolution, however the magnetic encoder has proven itself for crane and hoist use.
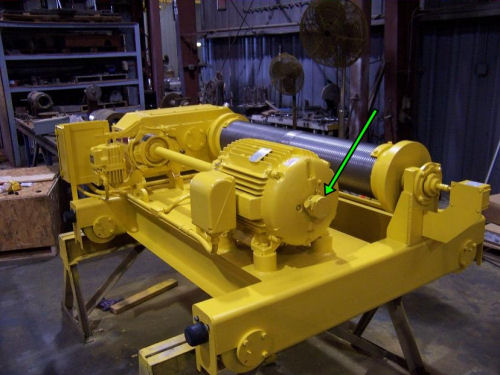
Mount the encoder “directly” to the motor. Try to stay away from encoder couplings or belts if at all possible. Try to stay away from mounting an encoder with a motor shaft coupling between the encoder and the motor. Any problems with a coupling will manifest in the drive getting the correct feedback from the encoder.
Choose a mounting that makes replacing the encoder easy. I say this NOT because encoders need to be replaced often, but because when “those who know” are not around, “those who do not know” will always want to replace the encoder first as a way to trouble shoot a problem. Making the replacement quick and easy will help any maintenance tech.
Use at least a 5/8” solid encoder shaft off the motor
Keep runout on the shaft at .002” TIR or less
Buy an encoder with a pin and plug connector (much quicker to change out)
NOTE: for Magnetek AC drives use a 5-18 volt line driver, 1024 PPR encoder
As always, if you have questions about a specific application or need just call. The above information is based on Eric and Dane’s experience with the application of encoders and is meant to be a tool in helping you with your next project.
Eric “The Crane Doctor”
Recent news posts
Gravity Latch with Rotation Lock
Magnetek Series 3 Drives Using “Motor 2” Option
Magnetek Brake Circuit Fusing
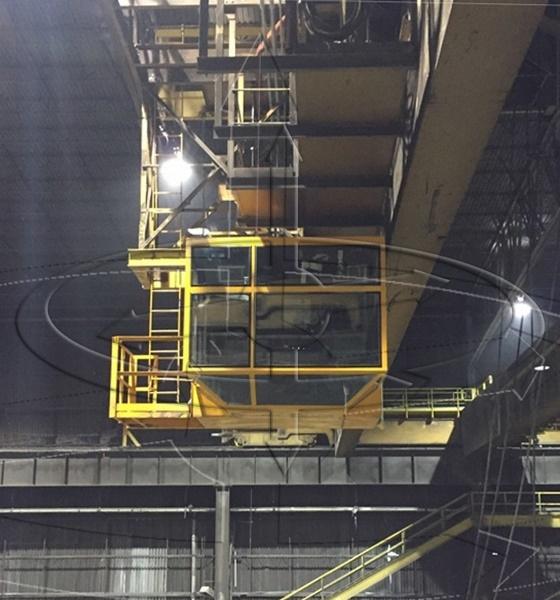
Crane Cab Replacement Improves Function